Friday, November 13, 2009
Life is Sweeter with S'mores
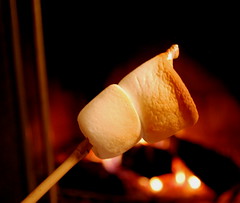
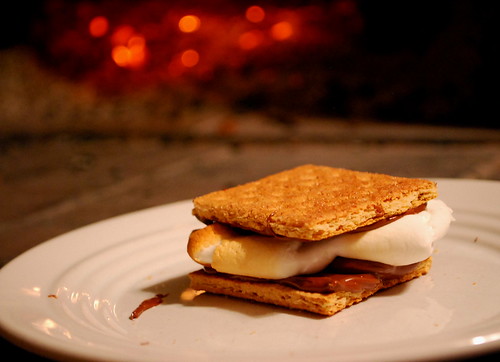
Cinnamon gram crackers, toasted marshmallow, nutella...can one really go wrong? Have a great weekend everyone!
Labels:
dessert recipes,
fire,
in the kitchen,
simple recipes
Thursday, November 12, 2009
A Run to the Hardware Store

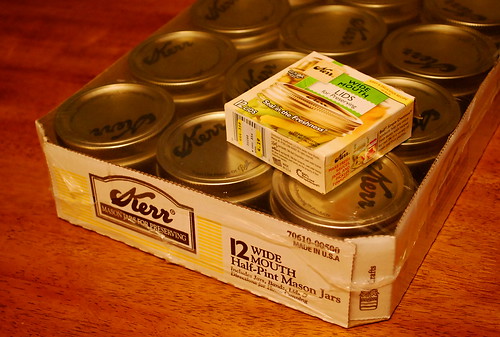
Yesterday, inspired by all of the wonderful and informative comments to my last post, I walked over to the Ace Hardware Store located in Boston's North End district during my lunch break to pick up some 1/2 pint mason jars. For those of you who are not familiar with the city of Boston, the North End is historically and to this day home to a rather large population of Italian Americans. Countless Italian restaurants, bakeries, espresso shops, delis and pizza parlors line the crowded streets of this quaint neighborhood. As you walk from shop to shop, you witness first hand the many culinary traditions that make the North End a truly remarkable place for food lovers. Which is why in addition to the jars, I couldn't resist purchasing a ravioli cutter and ghocchi board as well, both of which I intend to put to good use in the kitchen very soon.
I also placed an order online for Ball's home canning kit. Unfortunately, it won't be arriving for another 7 to 10 days. I think I'll harvest a few lemons this weekend anyway and can my marmalade using a large stockpot. Since our grandmothers wouldn't have waited for a fancy kit to arrive in the mail before they canned their harvest, why should I?
I will be listing several of the canning resources that were shared by those of you who commented on my last post on my sidebar soon. Again, much thanks!
Tuesday, November 10, 2009
Calling All Canners!
Yes, YOU! I mentioned earlier that I know next to nothing about canning, which is why for the past couple of weeks, I've been googling "how to can" and watching videos on Youtube. I plan on harvesting a few of my Meyer lemons either this weekend or the next and wanted to make/preserve some marmalade.
So here is what I've learned so far (please correct me if I'm wrong!):
- You use the water bath canning method to preserve acid foods like most fruits, jams, jellies, pickles and tomato sauce.
- You use the pressure canning method to preserve low acid foods like veggies and meats. (I don't think I'll mess with this just yet.)
For the water bath canning method:
- Check the jars (including rims) to make sure there are no cracks or nicks.
- Wash the jars and bands in hot soapy water.
- The jars should remain at a fairly hot temperature either by keeping them submerged in hot water or in a hot dishwasher until you're ready to use them.
- Dry the bands and set them aside.
- Fill the canner with water and start to heat it, making sure there is enough water to cover the jars by at least 1 inch.
- Try to coincide the heating of the water so that it is very hot when the filled jars are placed into the canner.
- Simmer the lids for 3 - 5 minutes and keep them hot until you're ready to use them.
- Fill a hot jar with the food, leaving the recommended head space (as a general rule - 1/4 inch for spreads, jellies and pickles and 1/2 inch for fruits and tomatoes.)
- Remove any bubbles by sliding a non-metallic stick down the sides of the jar.
- Wipe the rim and threads of the jar with a clean damp cloth.
- Remove a lid from the hot water and center it onto the top of the jar.
- Screw the bands onto the lids firmly but do not over tighten.
- Place the jar into the canner.
- Repeat with the remaining jars and food.
- Once all of the jars are placed into the canner, add extra boiling water if needed so that the jars are submerged by 1 to 2 inches.
- Cover the canner and bring the water back to a boil.
- Once a rolling boil is achieved, turn the heat down so that the water gently boils for the remainder of the processing time. (Processing time is counted from the time the water reaches back up to a rolling boil.)
- The canner should be covered with the lid for the entire processing time.
- At the end of the processing time, remove the jars from the canner and leave them to cool undisturbed for 8 to 12 hours.
- Check the seals by removing the bands and gently lifting the jars by the lids. The lids should be pulled down leaving a slightly concave surface.
- If you're unsure, push down onto the center of the lid. If the lid springs back then it has not been sealed.
- Store jars in a cool dark place.
Please let me know if there are any additional steps that I'm missing.
I also have a few questions:
1. Do you have to follow a special canning recipe for a specific food (like tomato sauce) or can you use any recipe that you like?
2. As far as processing times go, do you base it on the size of the jar or is it determined by the type of food that you're processing? More specifically, how long should I process marmalade/preserves/jellies for?
3. Obviously you can reuse bands if they are not rusty but can you reuse lids as well?
4. Do you store the jars with the bands screwed on or just the lids?
5. When you're screwing the band onto the jar and lid before it goes into the canner, how firmly should you do so? I'm assuming if you screw it on too tightly, then then the lids won't seal properly?
6. Is there a particular brand of canner or jars that you like?
Answers to these questions and any additional advise would be greatly appreciated!
So here is what I've learned so far (please correct me if I'm wrong!):
- You use the water bath canning method to preserve acid foods like most fruits, jams, jellies, pickles and tomato sauce.
- You use the pressure canning method to preserve low acid foods like veggies and meats. (I don't think I'll mess with this just yet.)
For the water bath canning method:
- Check the jars (including rims) to make sure there are no cracks or nicks.
- Wash the jars and bands in hot soapy water.
- The jars should remain at a fairly hot temperature either by keeping them submerged in hot water or in a hot dishwasher until you're ready to use them.
- Dry the bands and set them aside.
- Fill the canner with water and start to heat it, making sure there is enough water to cover the jars by at least 1 inch.
- Try to coincide the heating of the water so that it is very hot when the filled jars are placed into the canner.
- Simmer the lids for 3 - 5 minutes and keep them hot until you're ready to use them.
- Fill a hot jar with the food, leaving the recommended head space (as a general rule - 1/4 inch for spreads, jellies and pickles and 1/2 inch for fruits and tomatoes.)
- Remove any bubbles by sliding a non-metallic stick down the sides of the jar.
- Wipe the rim and threads of the jar with a clean damp cloth.
- Remove a lid from the hot water and center it onto the top of the jar.
- Screw the bands onto the lids firmly but do not over tighten.
- Place the jar into the canner.
- Repeat with the remaining jars and food.
- Once all of the jars are placed into the canner, add extra boiling water if needed so that the jars are submerged by 1 to 2 inches.
- Cover the canner and bring the water back to a boil.
- Once a rolling boil is achieved, turn the heat down so that the water gently boils for the remainder of the processing time. (Processing time is counted from the time the water reaches back up to a rolling boil.)
- The canner should be covered with the lid for the entire processing time.
- At the end of the processing time, remove the jars from the canner and leave them to cool undisturbed for 8 to 12 hours.
- Check the seals by removing the bands and gently lifting the jars by the lids. The lids should be pulled down leaving a slightly concave surface.
- If you're unsure, push down onto the center of the lid. If the lid springs back then it has not been sealed.
- Store jars in a cool dark place.
Please let me know if there are any additional steps that I'm missing.
I also have a few questions:
1. Do you have to follow a special canning recipe for a specific food (like tomato sauce) or can you use any recipe that you like?
2. As far as processing times go, do you base it on the size of the jar or is it determined by the type of food that you're processing? More specifically, how long should I process marmalade/preserves/jellies for?
3. Obviously you can reuse bands if they are not rusty but can you reuse lids as well?
4. Do you store the jars with the bands screwed on or just the lids?
5. When you're screwing the band onto the jar and lid before it goes into the canner, how firmly should you do so? I'm assuming if you screw it on too tightly, then then the lids won't seal properly?
6. Is there a particular brand of canner or jars that you like?
Answers to these questions and any additional advise would be greatly appreciated!

Sunday, November 8, 2009
This Week's Harvest

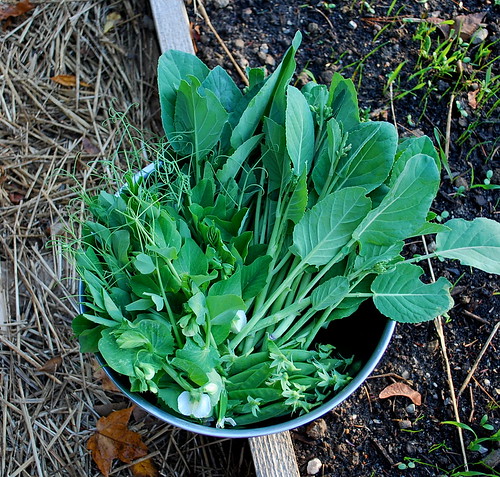
I thought I'd spare everyone by not to posting yet another photo of my weekly lettuce harvest. I did, however, take a picture of my pea shoot and Chinese broccoli harvest from earlier this week. I picked all of the tender pea shoots and immature pods I could find as well as the remaining Chinese broccoli in my garden. Since I read that pea shoots can be a bit tough if you harvest them when they're too far along, I made sure that the stems I picked snapped easily in my hands. When in doubt, pick anywhere from 4 to 7 inches of the growing tip (marked by where the new leaves start to unfold).

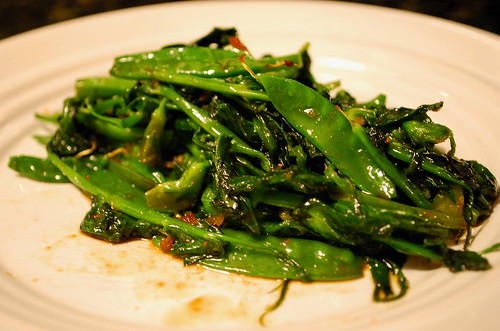
I mentioned earlier that I would update everyone on how the pea shoots tasted. On Friday, I sauteed them quickly with a bit of oil, garlic, soy sauce, shrimp paste, sugar and chili paste. The taste - FANTASTIC! It was one of the best things to have come out of our fall garden and not tough at all. If I had known that they would taste this good, I would have picked them earlier and done multiple cuttings. I read that pea shoots are traditionally harvested from the snow pea plant, but pea shoots from all types of edible peas can be consumed (sweet pea flower plants are poisonous). I will definitely be harvesting them this spring. For more information on how to grow and harvest pea shoots, click here.
If you'd like to see what others are growing or would like to share your harvest pics, visit Harvest Mondays at Daphne's Dandelions.
Labels:
Asian greens,
in the kitchen,
peas,
weekly harvest
Grow Your Own Citrus - Meyer Lemons
"Grow Your Own Citrus - Meyer Lemons" - as posted on Simple Green Frugal Co-op, November 9, 2009.
Posted by Thomas, from A Growing Tradition
I've always had a fascination with citrus trees. Maybe it's because one of my earliest childhood memories revolve around wandering the streets of Chinatown during Chinese New Year and seeing miniature mandarin orange trees for sale. They were like the Christmas trees of the Orient - deep evergreen foliage with small fruit that resembled orange-colored ornaments. Years later, while visiting my sister in southern California, I was struck by all of the citrus trees lining the front lawns and backyards of many of the homes we drove by on our way to Little Saigon, one of the largest Vietnamese-American enclaves in the United States. In addition to oranges, we saw trees filled with grapefruits, kumquats, mandarins, lemons and mandarinquats. I was instantly smitten. It was early March and I decided right then that I would grow a citrus tree, regardless of the fact that our winters here in New England often feel Siberian.
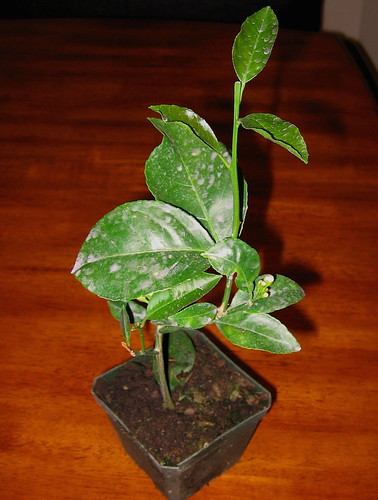
When I got home, I did a bit of research and quickly placed an order for a Meyer lemon tree. The online catalog assured me that the Meyer lemon would make for an excellent houseplant and I will admit, I could not stop looking at the airbrushed photo of the tree - a perfectly shaped and compact specimen filled with bright golden-yellow orbs. What I received in the mail was a little less perfect. In fact, it was hard to imagine at the time that anything edible would develop from this twig. Nonetheless, I read as much as I could about citrus cultivation and gave my Charlie Brown lemon tree the care and devotion it deserved.
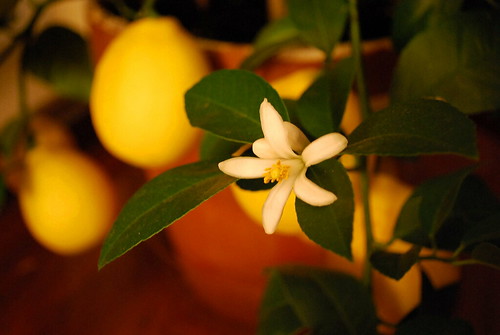
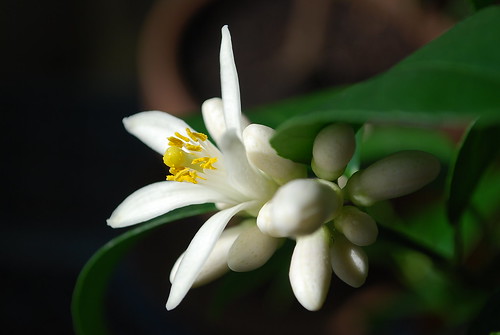
The blossoms can be hand-pollinated using a fine and delicate brush. Some flowers contain a pistil while others do not. The scent of citrus blossoms, which can fill a room, is reminiscent of jasmine.
Meyer lemon trees (as with most citrus) undergo several flushes of growth throughout the year. Sometimes this growth is primarily leaf, while other times it is accompanied by large clusters of blossoms. Since the tree often blooms in January, it is critical to hand pollinate. (In fact, my tree had its first major flush of blossoms in the dead of winter.) I use a small fine art brush to transfer pollen from one flower to the tip of the pistil of another. If all goes well, the ovary at the base of the pistil will swell into a tiny green lemon a few days after the petals have fallen off. Now all that's left to do is to wait patiently. It can take as long as 9 to 10 months for the lemons to mature.
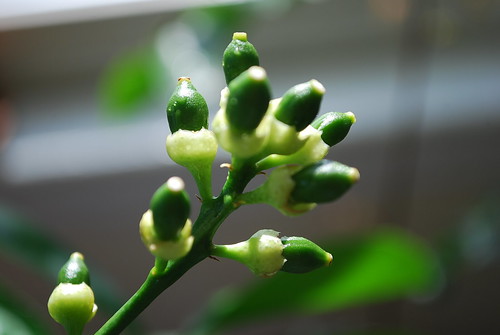
Flowers containing a pistil, if properly pollinated, will develop into tiny lemons. It is normal for a tree to shed most lemons within a cluster in order to focus its energy on the largest few.
For anyone interested in growing citrus, the key to success is in the fertilizer and soil. I made sure to plant my lemon tree in a well-draining potting soil mix and feed it three times a year with a slow-release organic citrus fertilizer (the brand I use is Growmore). A daily misting does wonders as well, especially during the winter months indoors. I keep my Meyer lemon tree in front of a window that gets about 5 hours of direct sunlight a day. Sometime during late spring, when nighttime temperatures get above 45 degrees F, I leave my tree in a sunny spot outside for most of the summer.
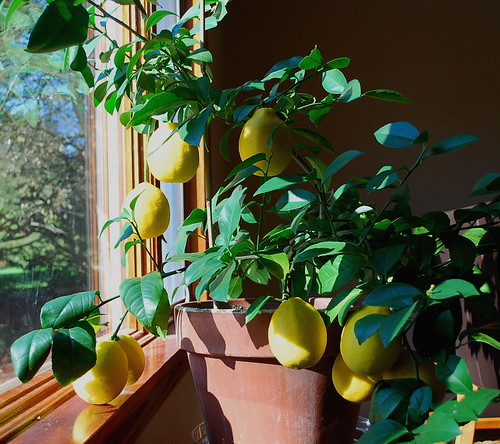
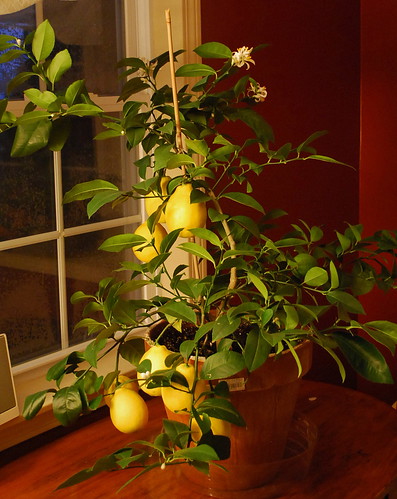
Fast forward 19 months later, Charlie has developed into a rather attractive houseplant and is rewarding me with my first harvest of lemons - 9 total. The fruits are from flowers that bloomed last January and are destined to become marmalade. (Locavores rejoice!) Most of our house guests stare at the tree in wonder and fondle the lemons to make sure they are real. In addition to my Meyer lemon, I also have a Kaffir lime tree, the leaves of which are very fragrant and commonly used in Thai and Indian cooking. Soon, I'd like to add Seville oranges and mandarinquats to my collection.
For more information on how to grow citrus as houseplants, click here. If you have any experience or additional advice on how to grow citrus successfully, please share!
Posted by Thomas, from A Growing Tradition
Since Meyer lemon trees can bloom throughout the year, it is possible to have fruits ripening alongside clusters of new blossoms.
When I got home, I did a bit of research and quickly placed an order for a Meyer lemon tree. The online catalog assured me that the Meyer lemon would make for an excellent houseplant and I will admit, I could not stop looking at the airbrushed photo of the tree - a perfectly shaped and compact specimen filled with bright golden-yellow orbs. What I received in the mail was a little less perfect. In fact, it was hard to imagine at the time that anything edible would develop from this twig. Nonetheless, I read as much as I could about citrus cultivation and gave my Charlie Brown lemon tree the care and devotion it deserved.
The blossoms can be hand-pollinated using a fine and delicate brush. Some flowers contain a pistil while others do not. The scent of citrus blossoms, which can fill a room, is reminiscent of jasmine.
Meyer lemon trees (as with most citrus) undergo several flushes of growth throughout the year. Sometimes this growth is primarily leaf, while other times it is accompanied by large clusters of blossoms. Since the tree often blooms in January, it is critical to hand pollinate. (In fact, my tree had its first major flush of blossoms in the dead of winter.) I use a small fine art brush to transfer pollen from one flower to the tip of the pistil of another. If all goes well, the ovary at the base of the pistil will swell into a tiny green lemon a few days after the petals have fallen off. Now all that's left to do is to wait patiently. It can take as long as 9 to 10 months for the lemons to mature.
Flowers containing a pistil, if properly pollinated, will develop into tiny lemons. It is normal for a tree to shed most lemons within a cluster in order to focus its energy on the largest few.
For anyone interested in growing citrus, the key to success is in the fertilizer and soil. I made sure to plant my lemon tree in a well-draining potting soil mix and feed it three times a year with a slow-release organic citrus fertilizer (the brand I use is Growmore). A daily misting does wonders as well, especially during the winter months indoors. I keep my Meyer lemon tree in front of a window that gets about 5 hours of direct sunlight a day. Sometime during late spring, when nighttime temperatures get above 45 degrees F, I leave my tree in a sunny spot outside for most of the summer.
Charlie, 19 months later. Meyer Lemons are ripe when their skins develop a golden-yellow hue. These lemons are not quite there yet.
Fast forward 19 months later, Charlie has developed into a rather attractive houseplant and is rewarding me with my first harvest of lemons - 9 total. The fruits are from flowers that bloomed last January and are destined to become marmalade. (Locavores rejoice!) Most of our house guests stare at the tree in wonder and fondle the lemons to make sure they are real. In addition to my Meyer lemon, I also have a Kaffir lime tree, the leaves of which are very fragrant and commonly used in Thai and Indian cooking. Soon, I'd like to add Seville oranges and mandarinquats to my collection.
For more information on how to grow citrus as houseplants, click here. If you have any experience or additional advice on how to grow citrus successfully, please share!
Saturday, November 7, 2009
Travels - Long Island
Every year, I travel to the eastern part of Long Island for work, which is where I was earlier this week. I drive down to New London, Connecticut from Boston, hop on a ferry, and an hour and a half later, find myself in the midst of some of the most beautiful farm land and shores on the East Coast. If you've never been, I highly recommend it, especially if it's during the off season. Though I didn't take any pictures this time around, here are a few taken by Marc during last year's trip. (I'll admit, he does a pretty good job with that camera of ours.)


A lighthouse (not sure of its proper name) located in Long Island Sound as seen from the ferry.

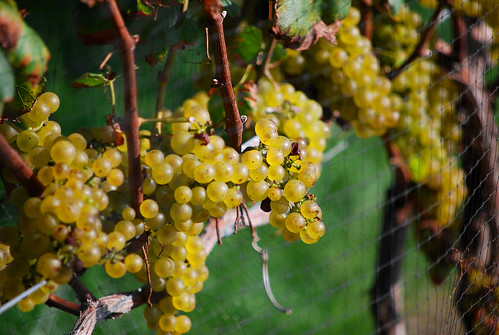
One of many vineyards and wineries located on Long Island.

A Bison Farm is not something you see very often on the East Coast.

A beautiful sunset on Sag Harbor.
Friday, November 6, 2009
Hoop House Tour
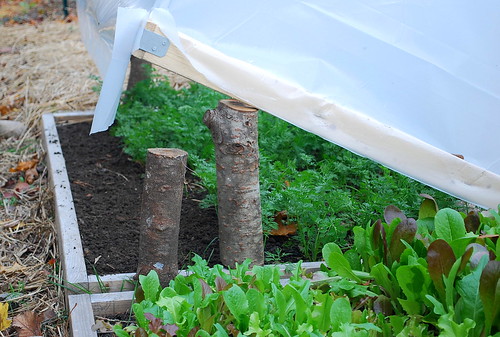
My garden is undergoing a period of transition right now, signaled in part by the onset of daylight savings last weekend. You can surely feel it in the air as temperatures are expected to reach down to 27 degrees F tonight. I have a feeling it is going to be a chilly November. Now is as good a time as any to write a post on some of the things I have growing in my mini hoop houses. It will be interesting to see how well they all fare in the coming months. In no particular order:

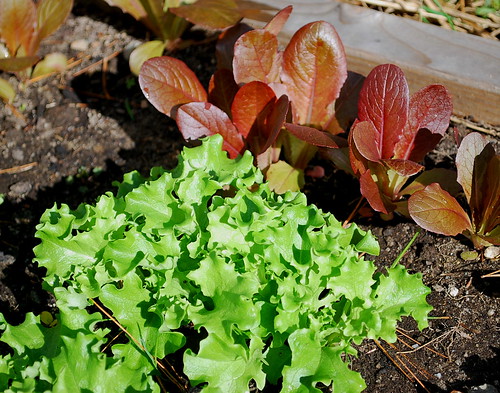
I have a couple rows of Tango and Red Romaine lettuce that need to be thinned. I would be delighted to have small heads of Tango lettuce to harvest this December.

The tatsoi is about ready. We still have a ton of stored greens left to eat so maybe I'll get around to harvesting them sometime next week. Luckily, my tatsoi have suffered only minimal slug damage.

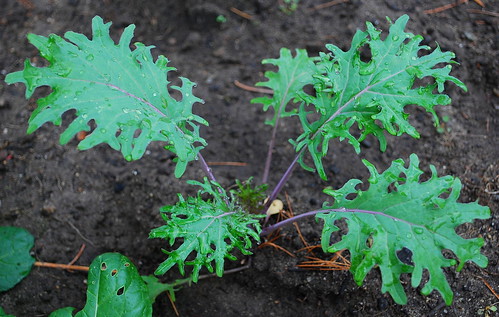
The Red Russian kale has really taken off during the past couple of weeks. I have four currently growing. They still need a few more weeks before we can start harvesting the leaves.

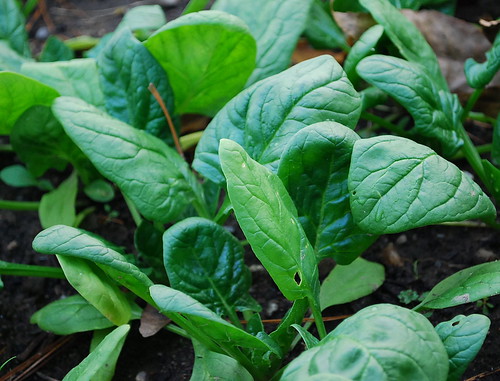
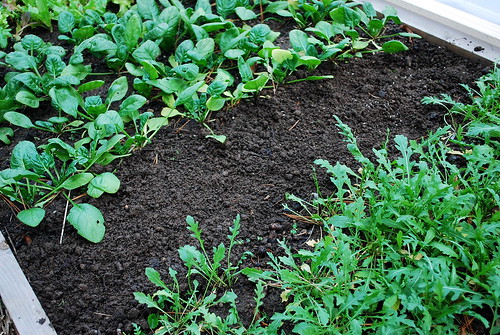
I have spinach growing in two of my beds. I think I'll harvest some baby spinach from one bed and leave the other patch to mature.
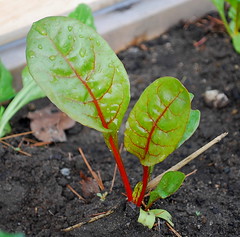
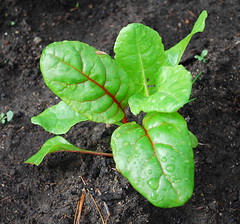
I will not be eating Swiss chard anytime soon. It will be interesting to see how well they overwinter.

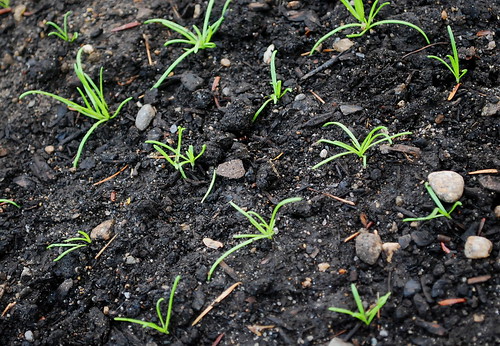
Here's a crop I haven't talked about much - Minutina. It's thin crisp leaves are supposed to add an interesting texture to a winter salad. Out of all the winter greens I've sown thus far, this one has germinated the best by far. I'm hoping its growth will prove equally as reliable in the coming months.
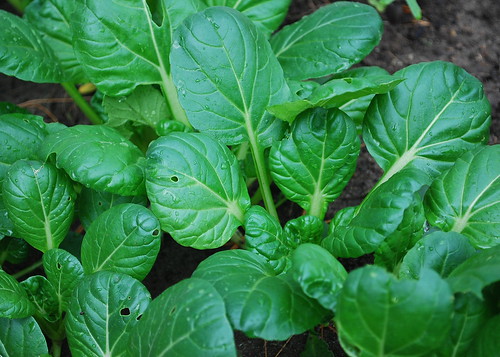
Finally, I cleaned up a couple of areas inside my hoop houses, into which I sowed some lettuce and pak choi. Again, another experimental sowing. We will see how this all plays out.

I have a couple rows of Tango and Red Romaine lettuce that need to be thinned. I would be delighted to have small heads of Tango lettuce to harvest this December.

The tatsoi is about ready. We still have a ton of stored greens left to eat so maybe I'll get around to harvesting them sometime next week. Luckily, my tatsoi have suffered only minimal slug damage.

The Red Russian kale has really taken off during the past couple of weeks. I have four currently growing. They still need a few more weeks before we can start harvesting the leaves.

I have spinach growing in two of my beds. I think I'll harvest some baby spinach from one bed and leave the other patch to mature.
I will not be eating Swiss chard anytime soon. It will be interesting to see how well they overwinter.

Here's a crop I haven't talked about much - Minutina. It's thin crisp leaves are supposed to add an interesting texture to a winter salad. Out of all the winter greens I've sown thus far, this one has germinated the best by far. I'm hoping its growth will prove equally as reliable in the coming months.
Finally, I cleaned up a couple of areas inside my hoop houses, into which I sowed some lettuce and pak choi. Again, another experimental sowing. We will see how this all plays out.
Labels:
Asian greens,
hoop houses,
kale,
salad greens,
spinach,
winter crops,
winter gardening
Wednesday, November 4, 2009
Fall Peas

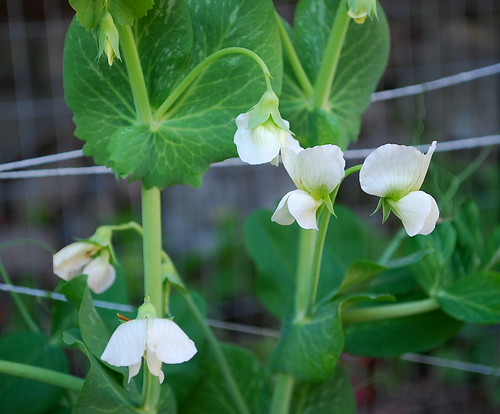
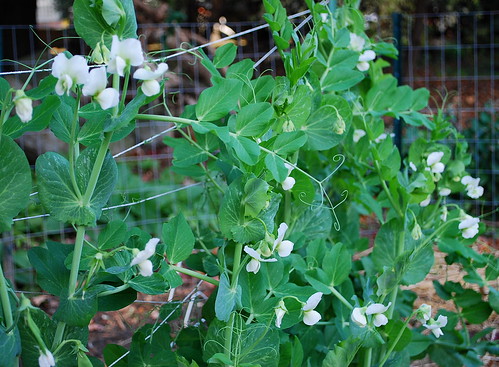
As I'd mentioned earlier, my fall peas were sort of a bust this year. I had sown them in early August; germination was slow and they languished in the August heat. Also, while they did well in September and October, my garden doesn't get enough direct sunlight for them to really take off.

Hence, right now, there are a ton of (doomed) flowers and a hard frost just around the corner. In fact, temperatures are expected to reach down to the high 20's later on this week. There's nothing worst then seeing your fall crops killed off just before they are about to produce.

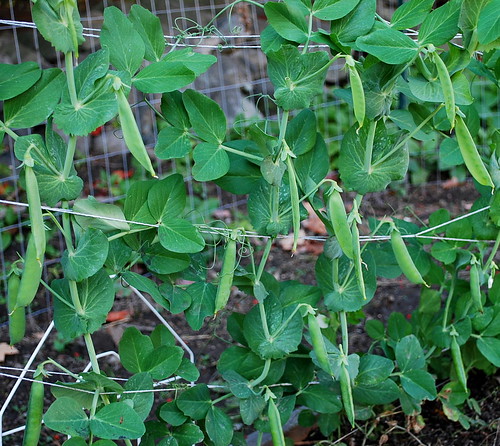
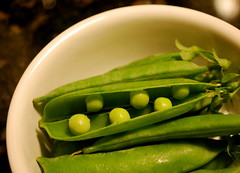
So this morning, before I head on a business trip for the remainder of this week, I harvested all of the immature pods and a ton of young pea shoots. I thought I read somewhere that pea shoots were supposed to be not only edible, but also very tasty. I just picked the tips of whatever looked young and not too tough. Does anyone have any experience on harvesting and eating pea shoots? If so, any advice would be appreciated.
Monday, November 2, 2009
Seeing Yellow...Lemons That Is.

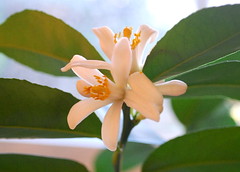
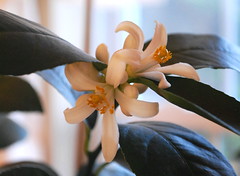
My Meyer lemon tree is blooming once again. Most of its leafy growth happened during the summer. This time around, it's just flowers, which I hand pollinate with a delicate fan brush. Our home gets a lot less sunlight than our old apartment, which had unobstructed views of the Atlantic ocean. I'm hoping the small fruits that are surely to follow will survive this winter anyway. The sunniest window in our home gets about 4 hours of direct sunlight each day. Hopefully this will be enough.
I have 11 lemons total, 9 of which are losing their last bit of green. I'm expecting that they will all ripen sometime this month. Meyer lemons are supposed to be bright yellow with a slight orange tint to them when fully ripe. It is believed that they originated in China and are actually a cross between a lemon variety and a mandarin orange. I've never tasted them before and am very excited to get my first chance! I'm thinking marmalade, and hopefully LOTS of it, unless someone has other ideas.
If you'd like more information on how I care for my tree, click here.
Sunday, November 1, 2009
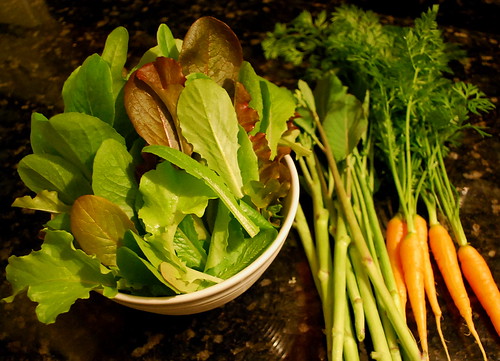
This Week's Harvest

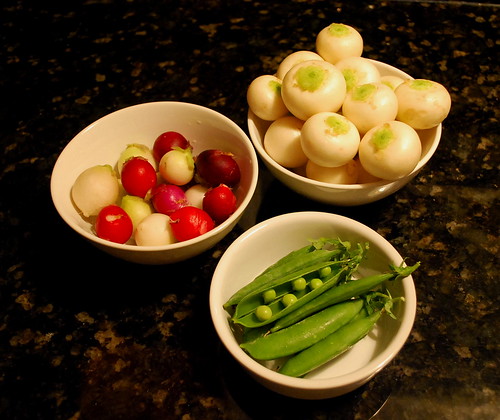
The fall harvest is becoming a bit repetitive these days. I'm already looking forward to next summer, when I can harvest my first cucumber, heirloom tomatoes and french melons. Today, I harvested the last of my turnips and radishes, along with the usual rounds of lettuce and Asian greens. The only thing new this week are a handful of peas. My fall peas have been a bust this year. I don't think I'll bother growing them next fall.
I wish there was something a little more exciting to note this week, aside from the fact that the slugs are doing major damage to the rest of my white stem pak choi. They don't seem worth eating now. I should have harvested all of them last weekend when I had the chance. Slugs seem to be the only major pest this time of year, aside from the random caterpillar. I will have to make a mental note to do something about that next year.
If you'd like to see what other folks are harvested this time of year, or would like show off your own, visited Harvest Mondays and Daphne's Dandelions.
I wish there was something a little more exciting to note this week, aside from the fact that the slugs are doing major damage to the rest of my white stem pak choi. They don't seem worth eating now. I should have harvested all of them last weekend when I had the chance. Slugs seem to be the only major pest this time of year, aside from the random caterpillar. I will have to make a mental note to do something about that next year.
If you'd like to see what other folks are harvested this time of year, or would like show off your own, visited Harvest Mondays and Daphne's Dandelions.
Labels:
Asian greens,
carrots,
fall crops,
fall harvest,
peas,
salad greens,
turnips,
weekly harvest
Subscribe to:
Posts (Atom)