Showing posts with label baking. Show all posts

Thursday, December 1, 2011

In the Kitchen - Rustic Pear Tart

DSC_0007
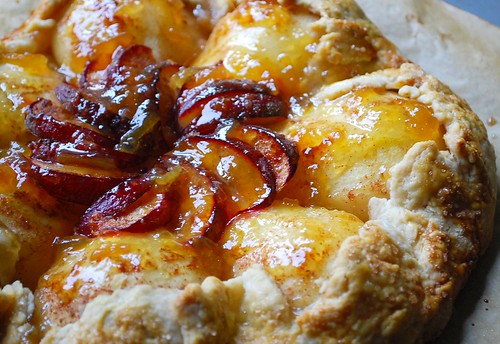
Last week, I made several desserts for our Thanksgiving dinner, including a pineapple upside down cake, my autumn fruit pie and a cherry pie made from sour cherries that I'd purchased back in July and froze specifically for this occasion. After assembling the pies and trimming the edges, I had enough dough left over for a 9 inch tart shell. This past weekend, I decided to make a rustic tart using some ripe Bartlett pears.

DSC_0005
I love making these 'free-formed' or rustic-looking fruit tarts because 1) they take much less time to prepare than your average pie 2) they usually don't require as much sugar as your average fruit pie recipe and 3) you can get pretty creative with the filling. I started by pealing, halving and coring my four pears and rolling my dough into a round 13 - 14 in diameter. I laid 7 of the halves into a circular pattern on top of the round. I then cut the last half into 1/2 inch cubes and added them to the center of the pear halves. I also had a red plum lying around so I decided to cut it into thin slices and arrange them on top the pear cubes.

On top of the pears, I sprinkled some ground ginger, cinnamon and the tiniest bit of clove. I then drizzled about a tablespoon of honey and two tablespoons of light brown sugar. After folding the edges up, I brushed the dough with some egg and sprinkled some raw sugar on it. The tart went into a preheated 425 degree F oven for about 15 minutes and then continued to bake at 375 for another 30-40 minutes.

When the tart is still warm, I like to glaze the fruit with some preserves (in this case, Meyer lemon marmalade) before serving. In the end, this was probably one of the tastiest improvised desserts I've made in a long time.

Wednesday, August 31, 2011

In the Kitchen - Naan Bread Recipe

DSC_0017
It's been while since I've posted a bread recipe. I love this one because you can start it at 9 am, let the dough rise for a couple of hours and have warm naan bread ready by lunchtime - perfect for a flat bread style sandwich or for dipping into a hot bowl of soup. You can also allow the dough to rest for a longer period if you aren't able to bake it straight away.

Naan Bread Recipe
3 cups bread flour
1 1/3 cups tepid water (80 - 90 degrees F)
1 teaspoon active dry yeast
1 1/2 teaspoons salt
2 tablespoons butter, melted
1 clove garlic, minced (optional)

Stand-mixer directions:
Pour the water into the bowl of an electric strand-mixer fitted with a dough hook and add the yeast. Stir with a wooden spoon to dissolve the yeast. Mix together the salt and flour in a medium bowl. Add the flour mixture to the water and begin mixing on low until the dough begins to gather around the dough hook. Turn up the speed to medium and continue kneading the dough for 5 minutes or until it is smooth and taut.

Hand-kneading directions:
Pour the water into a large bowl and add the yeast. Stir with a wooden spoon to dissolve the yeast. Mix together the salt and flour in a medium bowl. Begin by adding 1 1/2 cups of the flour mixture to the water. Stir this in the same direction for a couple of minutes to begin developing the gluten. Add the remaining flour 1/2 cup at a time, continuing to stir until the dough becomes too stiff to work with the spoon. Fold the dough a few times with your hand to incorporate the remaining flour. Turn the dough out onto a lightly floured surface and knead it vigorously for 10 minutes. Dust with more flour if necessary. At the end of the 10 minutes, the dough should be smooth and taut.
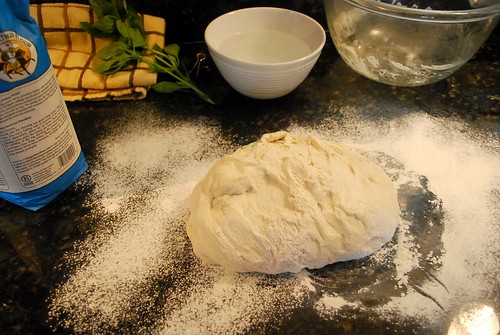
DSC_0032
Transfer the dough to a lightly oiled bowl. Cover the bowl with plastic wrap and allow the dough to rise at room temperature for at least 2 hours. It should double in volume by the end of this period. (You can also allow the dough to rise slowly overnight in the refrigerator. Bring it to room temperature before moving forward.)
DSC_0005
Melt the butter in a small pan on medium-low heat. Add the garlic and swirl it around as it sizzles for about 20 - 30 seconds. Remove from heat and set aside. (I don't bother to clarify my melted butter but you can if you like.)

Gas stove top directions:
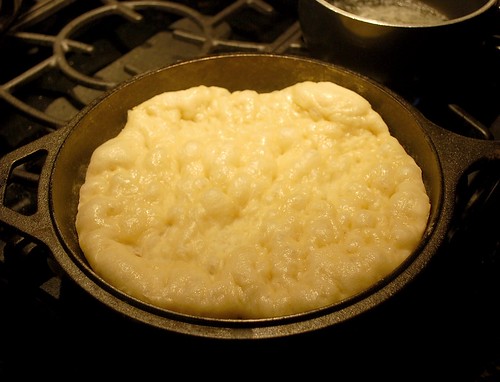
Unless you have a tandoor, I would recommend this method. What it lacks in "authenticity" it more than makes up for in convenience. Heat a covered cast iron pan on medium heat on top of your gas stove. Remove the dough from the bowl and place it onto your lightly floured work surface. Cut a 4 ounce piece of dough from the ball. Using your hands, pull and flatten it into a disk about 7 inches in diameter (like you would a pizza dough). Don't worry if the disk isn't perfectly round or uniform in thickness. These variables will give the finished bread its rustic look and contrasting textures. Dip your fingers into a bowl of cool water and press them into the dough, creating dimples throughout the surface of the disk. Don't worry about getting the top too wet. (In fact, you want it be fairly wet as this helps to give the finished bread it's classic chewy texture.) Cut another piece of dough from the ball and repeat this process.
DSC_0040
Once the first round has rested for a few minutes, remove the lid and gently place the dough into the heated pan dimple side up. Replace the lid and let the bread bake for about 4 minutes or until the top looks puffed and somewhat translucent. As the bread is baking, re-dust your work surface with flour and work on your third round of dough. When it is done, remove the bread with a pair of tongs and place the second round into the pan to bake. (If the bottom of the bread looks too brown or scorched, lower the heat a bit.)
DSC_0007
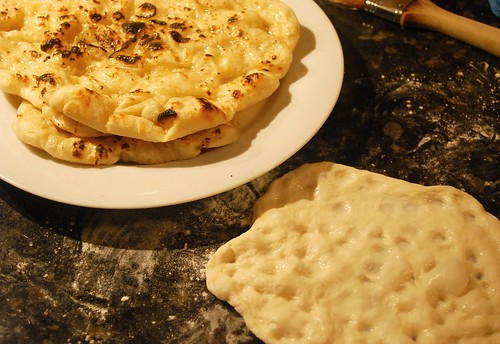
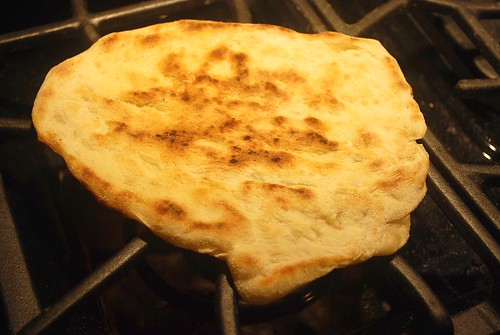
Light another burner to its medium setting and place the first round top-side down directly onto the burner. Using your tongs, move the bread around to evenly char the top. (This should only take a few seconds.) Place the finished bread onto a plate and lightly brush the top with some melted butter. Work on your next round of dough. Repeat this process for the remainder of the dough.

Oven Directions:
Position a baking stone onto the center of the oven and preheat it to 500 degrees F. Remove the dough from the bowl and place it on your lightly floured work surface. Cut it into 2 pieces. Pull and press the first piece into a rather large and thin (1/4 - 3/8 inch thickness) oblong shape. Again, don't worry if the thickness of the disk is not uniform or tears in some places. Dip your figures into a bowl of cool water and press them down into the surface of the dough, creating wet dimples throughout. Let the dough rest for a few minutes. Then carefully place the dough onto the baking stone and bake for 5 minutes or until the bread looks puffed and lightly browned on top. While the first loaf is baking, work on the second piece of dough. Brush the finished bread with melted butter.

DSC_0022
I generally use the stove top method when making this bread. Once you get into a rhythm, the steps become pretty straight forward. Recently I made a batch to accompany a beef and sweet potato curry. This is definitely one of my favorite breads to dip with. This bread is best when served immediately after baking. However, it is also great toasted the next day.

Please note: Some regions of the world make naan bread with milk and yoghurt, which I've read adds thickness and volume to the finished bread. Others do not. I might experiment with this recipe though and incorporate these ingredients for fun. It will be interesting to see how it affects the end result.


Tuesday, August 2, 2011

In the Kitchen - Fresh Cherry Pie Recipe

DSC_0024
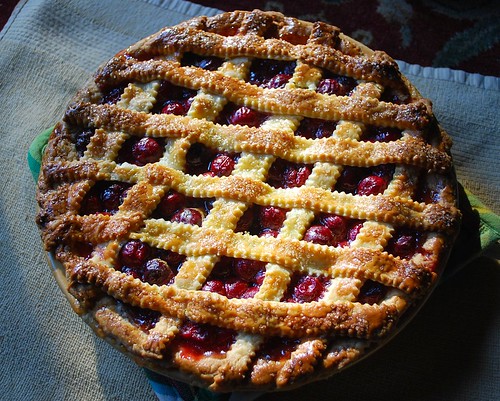
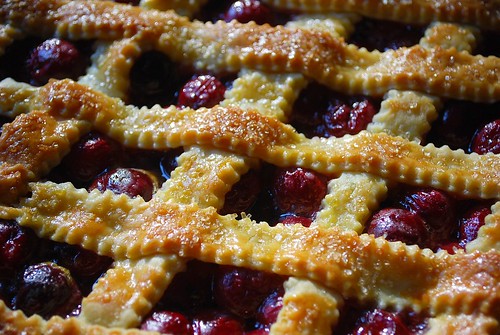
Usually for a couple of weeks around this time every year, we see fresh sour cherries for sale at the local market. I always make a point to buy some in order to make a cherry pie, which is undoubtedly one of our favorites. Part of what makes this pie so special is that in all likelihood, we'll only be able to have it once or twice a year as the season for fresh sour cherries is relatively short. Maybe one day when we purchase the homestead of my dreams, I will plant enough sour cherry trees to fill a chest freezer with enough fruit to satisfy our pie cravings year around. Until then, we'll just have to savor this rare treat.

DSC_0027
I've used the same pie crust recipe for years. It always gets rave reviews from our guests and never fails to bake up nicely. Once in a while, I will try out a new recipe but in the end, I always return to this one, which you can find here.

For the filling, I mix together 5 - 6 cups of fresh pitted sour cherries, 1 cup plus 1 tablespoon of sugar, 3 tablespoons of tapioca starch (or quick-cooking tapioca pearls), 1 tablespoon of lemon juice, 1 teaspoon of vanilla extract and sometimes 1/4 teaspoon of almond extract. This should be enough to fill a 9-inch deep dish pie pan.

After assembling the pie, I usually brush the crust with some beaten egg and sprinkle raw sugar on top. Then the pie goes into a 350 degree F oven for about 1 hour and 15 - 25 minutes.

Thursday, March 31, 2011

In the Kitchen - Pepper Jack Cheese No Knead Bread

pepper jack cheese bread 2
Some of you may know by now that I'm a "No Knead" bread (freak) enthusiast. For the past couple of months, we've been baking it religiously at least once or twice a week. I continue to be amazed by the awesomeness that is this bread. It's so easy to make that I don't even think about the process anymore.

You can find my slightly tweaked version of the classic recipe here. Honestly, why spend five bucks on a "fresh" loaf of bread at the supermarket when for the same price you can bake a half dozen of these beauties without even breaking a sweat.

pepper jack cheese bread
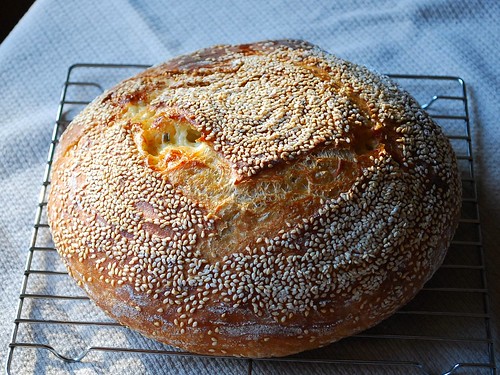
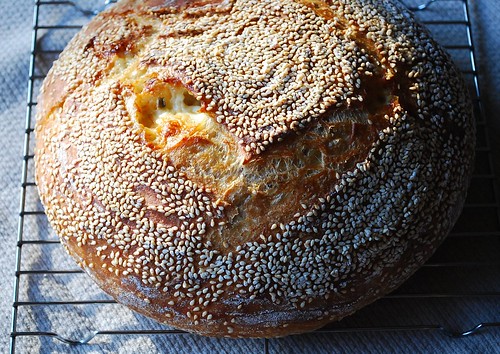
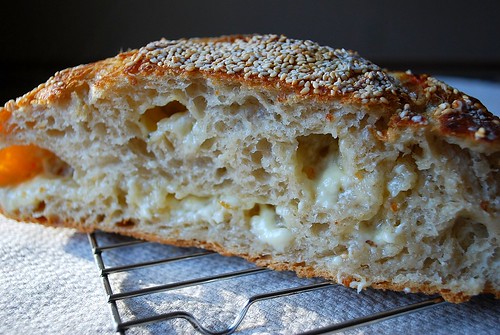
Just to keep things interesting, lately I've been folding a few extra ingredients into the basic dough just before the final rise. Shredded cheddar cheese and chopped rosemary made for a interesting combination. Cubes of pepper jack cheese and a coating of sesame seeds turned out even better (our favorite combo thus far). Pulled flat and topped with some olive oil, chopped herbs and coarse sea salt, you even end up with a passable focaccia.

pepper jack cheese bread 3
My favorite part - when you slice open this warm loaf, you get all of these big pockets of melted cheese. This stuffed bread stores well in the fridge and is also excellent toasted the next day.

So what's next for this versatile dough? Chopped dried figs and roasted pumpkin seeds perhaps?

Wednesday, February 2, 2011

Adventures in Baking - No Knead Bread

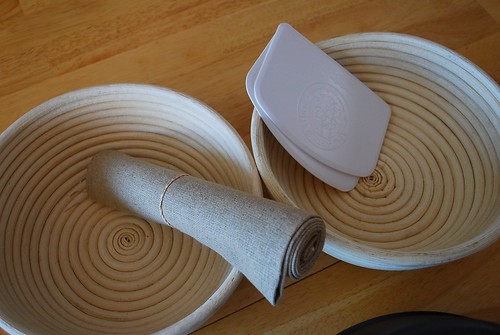
Bread Making Supplies
Bread making has undoubted become my pass time of choice these days. I don't remember any other time in my life during which I've baked as consistently. I'm sure it has something to do with the weather we've been experiencing. This winter has proven to be a brutal one for New England. I don't remember the last time we've had to deal with this much snow - so much that we've run out of places to dump it. In any case, when it's bad outside, a freshly baked loaf of bread does wonders to lift the spirit.

I splurged a bit and got a few bread making supplies that I've been fancying for a while now. Among the purchases were a couple of brotforms, a Lodge combo cooker, a baker's couche and two dough scrapers. I was especially excited to try out the brotforms, which help to circulate air around the dough as it rises and imprints an interesting pattern on the finished boule.

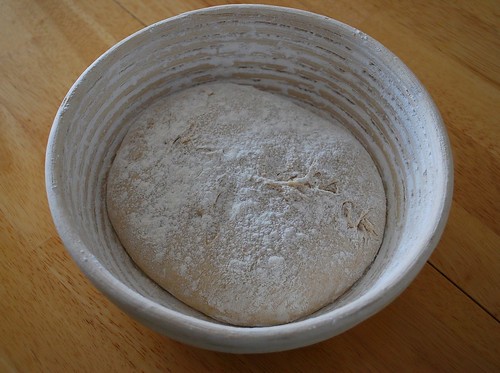
No Knead Bread Rising
This past weekend, I tried my hand at making the No Knead Bread recipe (yes, that one) made famous several years ago by the New York Times. I'd read the article when it was first published but will admit that I was never too keen on trying it. The bread snob inside me was skeptical that a formula that simple could produce something worth savoring. Boy was I wrong. Though it isn't the best bread I've ever eaten, the finished product is well worth the minor effort.

I did end up tweaking the recipe a bit. I replaced 50 gram of the bread flour for whole wheat and upped the water to 360 grams. Here is the tweaked recipe in full:

380g bread flour
50g whole wheat flour
360g water at room temperature
1/4 teaspoon of instant yeast (I use SAF)
1 1/4 teaspoon of salt

In a large bowl, mix all of the ingredients thoroughly with your hand. Coat a second bowl with a bit of oil and transfer the dough. Cover with plastic wrap and let the dough rise slowly for at least 12 hours. At a room temperature of 65 degrees F, I actually like to let the dough rise for closer to 14 hours (it definitely doesn't hurt and the dough is well ballooned by then).

At this point, I do 4 or 5 folds with the dough still in the bowl to shape it a bit. Then I turn it onto a lightly floured surface and do a series folds to tighten the dough's surface and form it into a ball. And unlike the official recipe, I lay the ball seam-side up in a floured brotform and increase the final resting time to 3 hours. (Note: rice flour works great to prevent the dough from sticking to the brotform.)

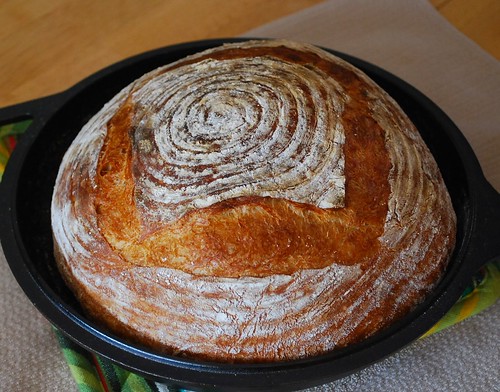
When it's time to bake, I preheat the oven and combo cooker for about 20 minutes at 500 degrees. The loaf is then carefully inverted onto the heated pan (seam side down) and a few slashes are made to the top. I then cover the loaf with the top pan and bake at 450 degrees for 30 minutes, after which the top comes off and the loaf bakes for another 15 to 20 minutes uncovered. When the bread comes out, it looks something like this:

No Knead Bread 1
The first loaf turned out very good.

No Knead Bread
The next loaf came out even better.

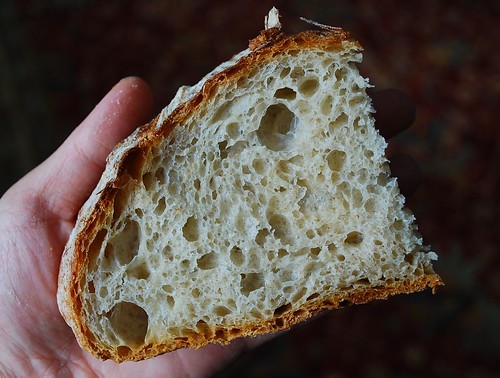
Slice of No Knead Bread
The best part of this bread is undoubtedly the crumb, which has an open structure and springy texture. The crust is crisp and a bit chewy when eaten fresh and toasted the next day. And most importantly, the flavor is very good. I am now officially a no knead bread convert.

On a final note, I think I'll continue to experiment with this bread. Stuffing the dough with lots of goodies just before the final rise sounds like a good place to start. Olives sound good....cubes of pepper jack cheese sound even better.

Monday, January 24, 2011

Another Great Loaf

Ale Bread
I thought I'd share with all of you my latest bread obsession. For the past couple of weeks, I've been baking a country loaf that starts with an ale and yeast poolish. The recipe for this bread can be found in Crust: Bread to Get Your Teeth Into by Richard Bertinet. The preparation is fairly start forward but the results are absolutely amazing.

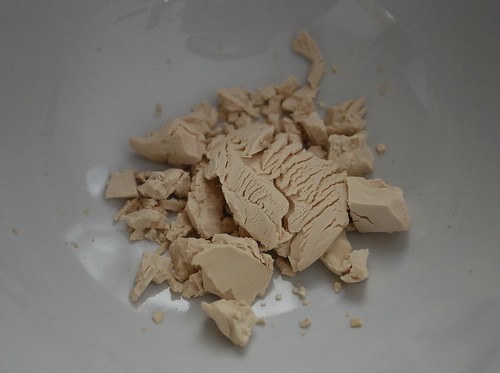
Fresh Yeast
I'd bought Crust several years ago but never got around to trying any recipes from the book. Mr. Bertinet makes he breads using fresh yeast - something I've read a great deal about but have never been able to find at the grocery store. As a result, his book had been gathering a mighty layer of dust for quite sometime. That is until my next door neighbor mentioned that she had an extra block of fresh yeast in her fridge that I could have. (Score!) Apparently she gets it from a European market in Boston. Finally, I was in business.

Ale Bread 2
What I love about the recipes in Crust is that they all utilize a relatively small amount of yeast. (Mr. Bertinet also has an interesting way of kneading dough, which he demonstrates on a CD that comes with the book.) While the resting times are generally longer compared to many recipes that call for active dry or rapid rise yeast, I've been making bread long enough to know that you usually end up with a superior loaf in turns of flavor, structure and shelf life by allowing the dough to rise slowly. This particular country loaf is a prime example of that. I start the ferment just before I head to bed, then mix and knead the dough when I wake up and by noon it's on our lunch plates. It's fantastic straight out of the oven but also stores well in the freezer and makes for excellent toast.

Banh Mi
This weekend, I made some Vietnamese sandwiches (banh mi) using this bread. (I'm salivating just thinking about them.) While there are countless variations on the type of meat to use inside a banh mi, most call for a light smear of homemade mayonnaise, sliced cucumber, jalapeno and cilantro and some pickled carrots. You can also spread a layer of pate and add some pickled daikon radish if you like, but most importantly, the bread has to be fresh (and preferably French). This time around, I stuffed our sandwiches with some homemade Chinese roast pork (char siu), which I'll have to post a recipe for along with the pickled carrots one of these days. Until then, borrow Crust from the library and make this bread!

Wednesday, January 12, 2011

Making Whole Wheat Mini-Baguettes

whole wheat mini baguettes 3
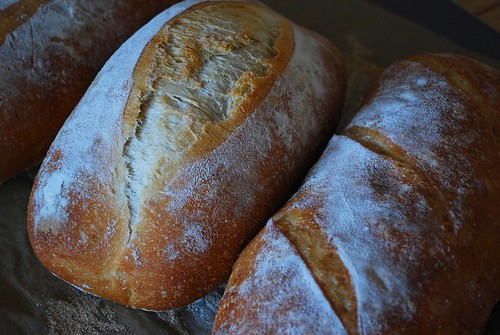
A while back, I posted about how much I loved Peter Reinhart's recipe for Pain a l'Accienne, which can be found in the Bread Baker's Apprentice. So much so that it has become our daily bread of choice. It's relatively simple to make, packs a ton of flavor and has a crust that is perfectly crisp and chewy (just how I like it).

whole wheat mini baguettes 2
In my quest to formulate a healthier version of this bread, I decided to introduce some whole wheat flour into the mix. In the interest of full disclosure, I will admit that I am not a fan of whole wheat bread in general. In fact, it's usually the bread of last resort for me. Maybe it's because I grew up in an immigrant family that usually kept a baguette or two lying around (another reminder that Vietnam was once a French colony) but to this day, whenever I have a craving for bread I tend to reach for a loaf that is caramelized and rustic looking on the outside and pristine white on the inside.

whole wheat mini baguettes
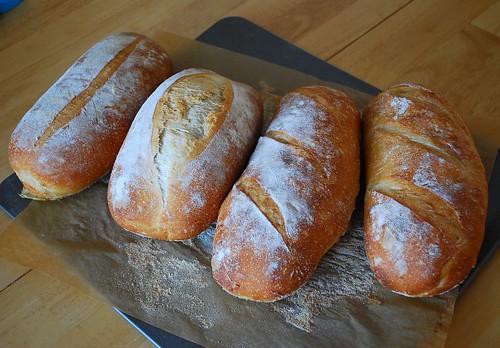
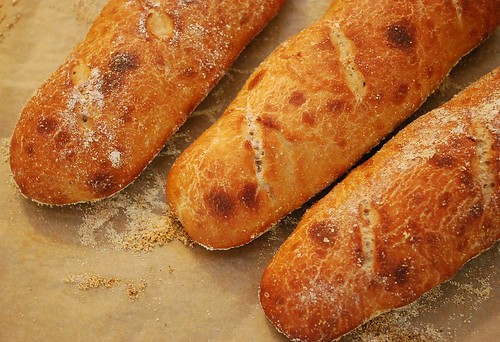
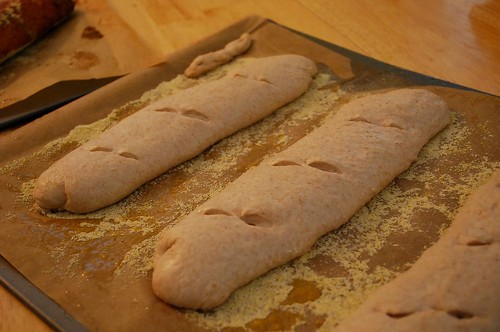
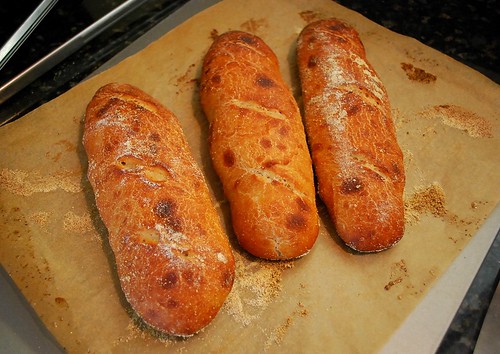
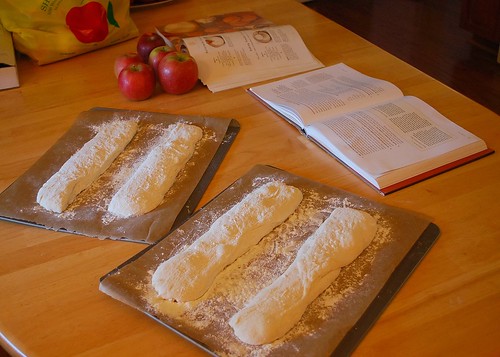
When making these whole wheat mini baguettes, I used 7 ounces of whole wheat flour and 20 ounces of bread flour instead of the usual 27 ounces of bread flour. The good news is that the bread rose and baked perfectly despite the substitution. In fact, I think you could probably use more wheat flour in this recipe if you wanted to. The bad news is that while the flavor is still good even by my whole-wheat-hating standards, the bread is just not the same. That being said, I'm sure many of you whole-wheat aficionados would like this bread. Me? I'm sticking to the white stuff.

whole wheat mini baguettes 4
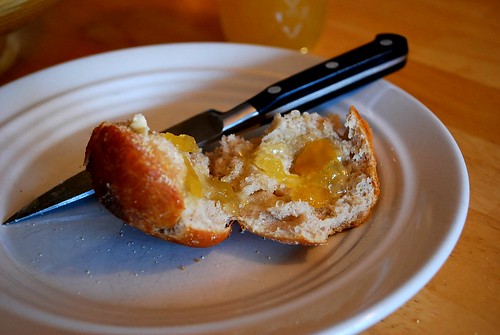
And did I mention that there is nothing better than eating freshly baked bread with a smear of creamy butter and a dollop of marmalade? I live for this.

Wednesday, October 13, 2010

Our Daily Bread

bread making 2
I don't bake my own bread as often as I should. To be honest, I hadn't found that one recipe that would satisfy my taste for artisan-style bread, while at the same time, be easy enough to make on a regular basis. That has now changed with Peter Reinhart's Pain a l' Ancienne recipe, which I tried for the first time this past weekend.

bread making
Initially, I was quite skeptical as the recipe is relatively straight forward (I'm used to 12 step recipes that call for a lot of feeding, kneading, resting, punching and repeating). For this bread, you knead the dough for 5 minutes, refrigerate it straight away, let it rise for 2-3 hours the next day and then bake.

bread making 3
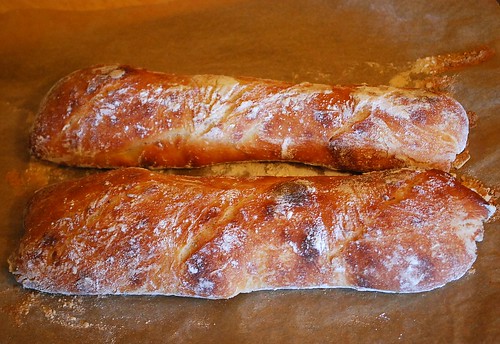
The end result is absolutely phenomenal. I would describe it as a cross between a traditional french baguette and a ciabatta. This bread is nutty, crispy, chewy and bubbly - all of the things love in a rustic loaf of bread. It also freezes really well.

If you're interested in making this bread, you can find the recipe in Peter Reinhart's The Bread Baker's Apprentice. (It's online if you search hard enough.)

Tuesday, November 24, 2009

Dakota Bread...With a Twist

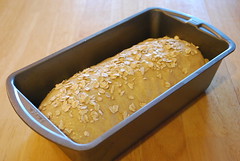
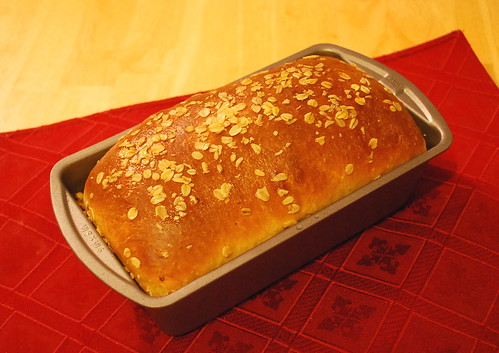
Dakota Bread
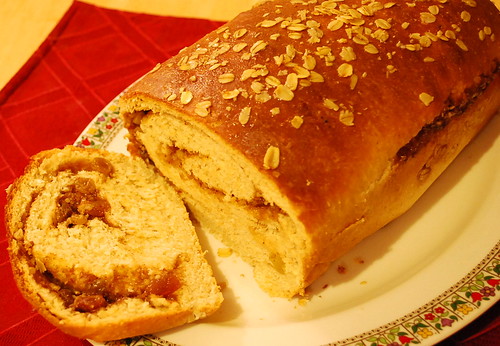
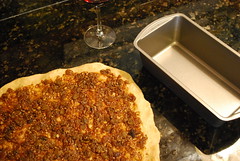
A few days ago, everyone's favorite blogger, Annie's Granny, posted a recipe for Dakota Bread, one that I'd never heard of before. Her bread looked delicious, easy to make, and amazingly, I had all of the ingredients in my kitchen to make it. So I thought I'd pour myself a glass of red wine, proceeded to get tipsy and gave it a go! I got a little carried away and added a swirl of cinnamon, brown sugar, honey, raisins and chopped almonds to it. Jonathan had a thick slice and scarfed down every last bit.

Dakota Bread Dough 2 Dakota Bread Dough
Dakota Bread 3
Even without the swirl, this bread is really tasty. I can't believe how easy it is to make. I might have to make this my sandwich bread of choice. Thanks, Gran!